
I've been trying for the better part of a month to get this recipe made and uploaded. The issue hasn't been ingredients or equipment, it's been that these scones are sublime. If I make them I want to eat them. So I try to save it for when I know I'll see people I can give them away to. Even though they freeze very well, they thaw rather quickly and can be warmed up easily in a toaster oven -- meaning that even when I try to make them inconvenient they're still there. Waiting. Calling my name. I find myself finding excuses to sneak another ("well, if I skip dinner tonight and go to the gym tomorrow...").
The beauty of this recipe isn't just the ease or speed of making them, or even that it calls for olive oil instead of butter. To me the winning factor is how incredibly versatile it is. I've made these with fresh berries of all kinds, chocolate chips, butterscotch chips, cinnamon and sugar, caramel swirls, apples, pumpkin, lavender, lemon zest, maple syrup, chai spice, dried cranberries, oats, orange zest... So while this particular version of the recipe uses blackberries and vanilla powder, I hope you'll please feel free to experiment and make these your own.
Irish Scones
Total Time: 15-20 min assembly, 10-15 min baking
Weirdest Ingredient: buttermilk
Credits: I wish I could say that this recipe was handed down through the Cullen or Delaney family traditions on either side of my family, but the truth is it comes from this article in The Atlantic. The recipe itself is tucked into a set of paragraphs toward the bottom. Their version is -- in my opinion -- unnecessarily complicated. Once the dough is assembled they fool around with it a bunch for reasons that seem purely aesthetic. Personally I feel I haven't got the time or patience to get fancy with this dough, so my take on it is just to plop the scones onto a baking sheet and let them be a little ugly. The dough is so very sticky that I can only imagine I'd end up stress-eating the entire pan by the time I was done anyway. But please do check out the original for the full story of their origin and for tips.
The overview of this recipe is dry ingredients + wet ingredients, stir gently, add optional mix-ins, & bake. Let's get started!
While you're getting the dough ready, preheat the oven to 500 degrees F. (Scary, I know. It always makes me uneasy when the oven goes over 400 degrees.)
The dry ingredients are: 2.75 cups White Lily* flour, 2 teaspoons baking powder, 0.5 teaspoon salt.

You can sift them together if you like. I usually just use a wire whisk to knock the lumps out.

*Flour: The original recipe calls for White Lily, which lies somewhere between all-purpose flour and pastry flour in terms of how chewy it gets. Two years ago I'd have put in a paragraph here explaining what the protein gluten is and why one kneads bread but not pastries. Back then, in the dark ages, the only person I knew who avoided gluten had celiac disease (a serious digestive disorder distinct from gluten sensitivity, both of which are wildly different from and quite a lot rarer than fad dieting). She struggled not only with meeting her nutritional needs but also with finding anything gluten-free that didn't taste like cardboard. These days there are a lot more options out there and that's fantastic for people who have digestive disorders. But that's not why this recipe recommends low gluten. The reason is so that your scones will be closer to cake texture than bread texture. The original recipe has some suggestions for substitutions. I found White Lily in my local Walmart, but please feel free to substitute regular all-purpose flour if you want. Don't rely solely on cake or pastry flour for this or everything will crumble apart. Scones need the structural integrity that just a little gluten gives them, so err on that side. (Cake flour is cut with corn starch, you see, to keep the gluten really low. Pastry flour is slightly less diluted, making it a tiny bit tougher.)
Additional aside: Just to be clear -- because I don't want anyone to think I'm being critical -- I've got no feelings one way or the other about gluten-free dieting. I think it makes people more aware of what they put in their bodies and that's not necessarily a bad thing. Otherwise, like anything else it's about moderation and choosing what's best for you based on both your own experience and the recommendations of a physician or registered dietician, who, just to lighten the mood, is different from a nutritionist.)
Anyway, getting back on track, that's your dry ingredients and a little food science. Next up are the "wet" ingredients: 1 cup buttermilk**, 0.5 cup olive oil (I know, right??), 0.5 cup sugar, & 1 egg:

Whisk it all together:

**Buttermilk: I've had luck both with substitutions and with powdered buttermilk, so no worries if you can't find it or don't want to buy a whole pint/quart just for one recipe. I'm there with ya. I haven't tried vegan alternatives so let me know if you find something that works for you.
You can either add your mix-ins to the wet ingredients or you can do what I do below and add them just as the dough comes together.
The next step is to add the wet ingredients to the dry. I use a wooden spoon to make a hole in the flour:

And then pour the wet ingredients in:

The liquid part above has 1 tsp vanilla powder in it, that's why it changed color. If you're going to add spices or zest I'd recommend whisking them into the wet ingredients first just because the liquid helps bring out the flavor a little and our goal here is to stir the dough as little as possible.
The trick at this point is to work quickly since once the wet and dry ingredients hit each other your baking soda is going to start doing its thing (fizzing, thereby adding fluff to your scones), and the quicker you can "capture" that in the oven the fluffier your scones will be.
Gently stir until almost all the flour is incorporated:

This is the point where I add my solid mix-ins like berries, candy chips, zest, seeds/nuts, or what have you. Feel free to mix and match. A few of my favorite combos are ground cinnamon & butterscotch chips, raspberries and almond slivers, and lemon & lavender. I've found that for berries and chocolate in particular they start to soften a little into the liquid and then the flour gloms onto them in weird ways. For this particular one I tossed in about half a cup of fresh blackberries:

At this point just stir until the mix-ins are squished into the dough and the flour's gone. For me that was something like 4-5 more stirs:

The more delicately you treat the dough, the more "delicate" the pastry will be. Please don't beat these to death. I don't even use a mixer since it takes so little stirring. Anyway, if you're going the easy route then just scoop out your dough onto a baking sheet. I don't bother to grease the pan because they don't seem to need it, though you can if you're feeling anxious.

What I do is use a 1/4C measuring cup for the first one and then eyeball it for the rest. That gives me about a dozen and a half scones.
Some tips: The dough is super sticky. If you want neat rounds you could follow the original recipe, which calls for cutting the scones out in circles. I feel like I'd go mad if I tried this, so I just spoon them out. If you like your scones not to be spikey or ugly like the ones above, try wetting your fingers and patting them into a neater round. I did this with the second tray, below, so you can see the difference. You can also whisk up one egg to brush over the tops. That'll help them brown up a bit and puts a nice glaze on the top. Because I already struggle not to eat these by the handful I tend to skip that step to cut out a few calories, but when I make them for company I do brush with a very thin coating of egg using a pastry brush. It's up to you, I think.
Okay, now, this part is very important: Turn the oven down to 425F immediately after you put the scones in the oven. (Please.)
The general guideline for baking time is 12 minutes. In reality baking times vary depending on how big your scones are. I've made bigger ones with a 1/3 or 1/2 cup of dough per each, which boosts up the baking time by a minute or two. My recommendation here is to err on the side of too short and sneak a peak at around 10 minutes. They bake super fast and when they're done they're not as brown as you'd think they should be. For example, the first batch I popped in for the 15 minutes recommended in the original recipe and they got a little too brown in places (but still edible and very delish):

The second batch, the one where I used wet fingers to pat them into prettier shapes, I only baked for 12 minutes (making sure to rotate the pan 180 degrees halfway, as with any baked good). They came out closer to the right color:

If you're panicking that they're not browned enough just remember that these are Irish scones. They're supposed to be too pale because they burn easily.
Well, not burn so much as dry out. I've left them in for way too long before and they don't scorch so much as turn gradually into rocks. I don't recommend it.
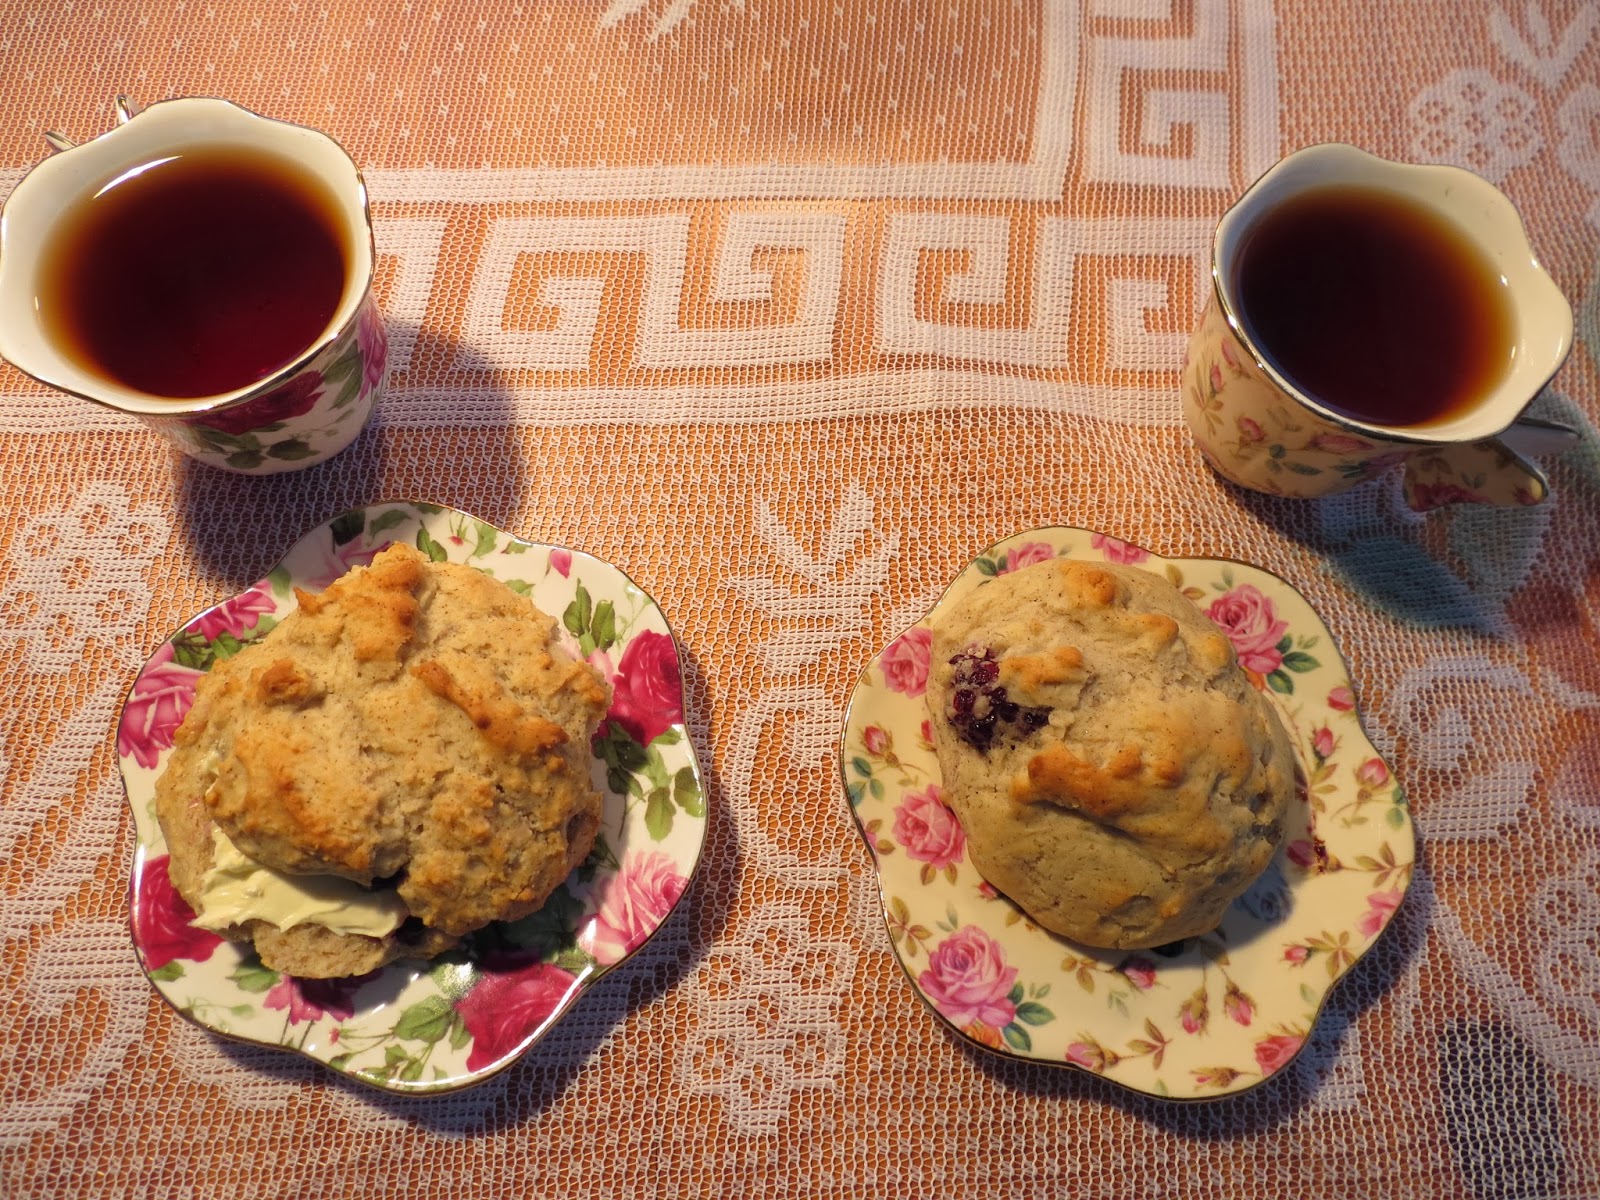
But yeah, that's it! Whenever I post recipes like this I get nervous that too many pictures makes it look like the recipe is hard, but honestly I feel like it's just barely more involved than cake from a mix. Or maybe I'm just motivated by the thought of hot scones, strong tea, and a little dollop of clotted cream:

These are best shared with a friend, I think.

I have no idea what's up next. Possibly another lentil recipe. Got any suggestions or requests?
Irish Scones
Makes 12-18 scones, depending on size
Dry Ingredients:
- 2.75 cups White Lily flour
- can sub: all-purpose white flour or see original recipe
- 2 tsp baking powder
- 1/2 tsp salt
- 1 cup buttermilk
- substitution tips here
- 0.5 cup olive oil
- 0.5 cup sugar
- 1 egg
- 1 egg, beaten, to brush over top
- mix-ins of your choice
- Note: mix-ins are entirely optional. The rule of thumb is 1/2 cup total mix-ins. Add powdered mix-ins (e.g. cinnamon) to the wet ingredients to help incorporate them. Add solid mix-ins just as dough is coming together (see photo above). The scones pictured above used 1 tsp vanilla powder and 0.5 cup blackberries.
Directions:
- Preheat the oven to 500 degrees F.
- Whisk together dry ingredients in a large bowl using a wire whip.
- In a separate bowl whisk together wet ingredients, adding any optional powdered mix-ins such as spices.
- Using a wooden spoon, create a hole in the middle of the dry ingredients and pour in the liquid. Working quickly, gently stir the dough until the flour is nearly incorporated. If adding solid mix-ins such as berries or candy chips, add them at this stage. Gently stir a few more rounds until flour is incorporated. Take care not to over-mix or scones will become tough.
- Spoon roughly 1/4 to 1/3 cup of dough onto a parchment-lined baking sheet.
- If desired, shape the scones into neat rounds using wet fingers. Brush the tops with the beaten egg using a pastry brush.
- Place scones in the oven and immediately turn down heat to 425F.
- Bake 10-12 minutes, rotating the pan halfway. Finished scones will be pale in color.
No comments:
Post a Comment